A New Year, A New Project: My ShmooCon Experience
21 Jan 2025
5 minutes
My first post of the new year!

Prerequisites
If you would like to do something similar to this, I recommend getting/installing the following: Arduino, ESP32, USB Cable that can connect to your computer and that is compatible with the ESP. These 3 things will allow you to program your ESP32 at the very least. Additional parts that we used are mentioned later in the post.
This was the last ShmooCon ever :(
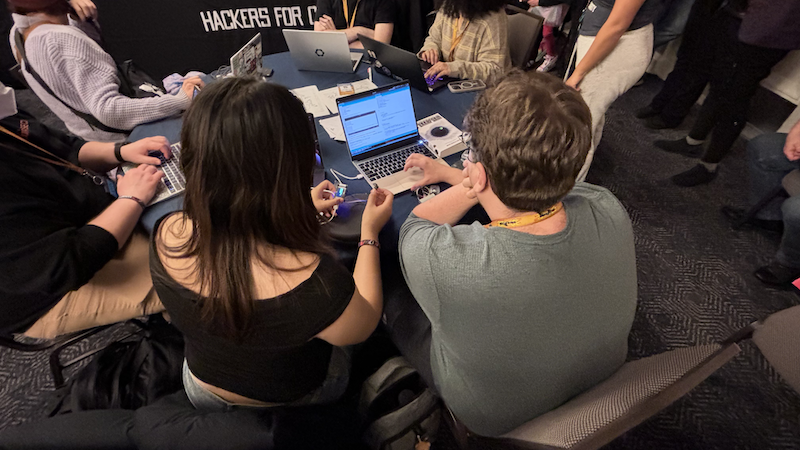
If you’re not familiar with ShmooCon, it’s a cybersecurity conference that has been held every year in Washington D.C. since 2005. I’m fortunate enough that I’ve been able to attend 4 ShmooCons from college till now. I’m so sad this was the last but also grateful that I made the most out of it; I met some awesome people, attended amazing talks, saw old friends, and worked on this mini project!
This Project
Like every year, most of the sponsor booths had created or brought an activity for conference attendees to interact with for some awesome swag! I believe ThreatConnect does this hash challenge every year but this was our first time actually finding matches! Shoutout to our friend Max Fusco for creating shmoochcon.org💋 (the website is no longer up) to make this process much faster.
Our Plan?
We didn’t have one! Neither of us expected to find a match so when we did, we had to come up with some ideas. To get additional parts for the ESP32’s, we had to create something cool and show the guys at the booth! So, we both ended up displaying our GitHub usernames in big ASCII art text. Mine also had my website displaying above my username!
After showing the guys at the booth we were both able to get some additional parts to play with! These are all the parts we received by the end of the conference:
- Female to female wires
- A thermal sensor (AMG8831/AMG8833)
- A “human sensor” (HLK-LD2410C-V1.0)
- ESP32-Camera
- 2 Joysticks/Five direction Navigation Button Module
- Waveshare 2.13 inch e-Paper HAT FPC-A002 20.04.08
- 16 button “keyboard”
- MakerFocus 3.7V 1100mAh Lithium Rechargeable Battery
- A Laser!
- Mini screen version of ESP32
- Waveshare MLX9064X Thermal Camera (special gift!)
By default, the ESP32 would be showing my social media handle and website. I thought that it would be cool to turn it into a badge and use the thermal camera to detect when someone is in front of it. Once it does, it would switch from showing my username to display a neat little message instead.
We had to solder the pins on the thermal camera because they weren’t pre-soldered on and the jumper wires we had were female to female. This means we couldn’t just press the end of the wires onto the connections on the thermal camera.
The camera is 8 by 8 pixels and we got it working with example code from the same sensor on a different breakout board. This example code gave us the temperature of each pixel in the thermal camera in degrees Celsius. We took the average value of all the pixels to calculate the average temperature in front of the camera. By pointing it around at different people at various distances, we determined the threshold for someone being in front of the badge is 23°C.
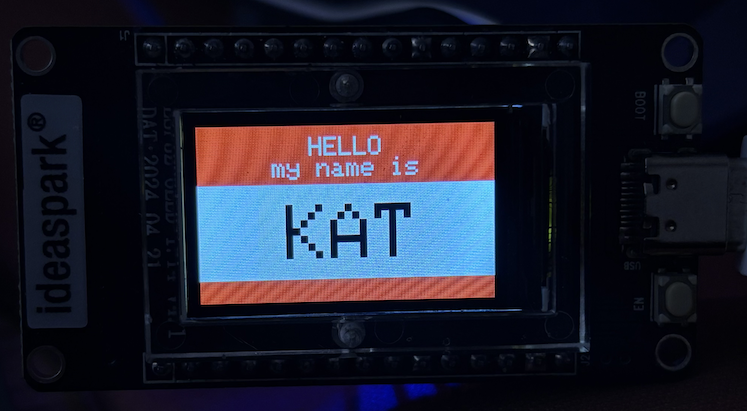
We merged the example code from the thermal camera with the modified code from Polarity. We changed the main loop, adding a condition for when the average thermal camera temperature was above our threshold so that it would display the message “Hello my name is… KAT”

Challenges
The text did not fill the bottom half of the screen
When we were first trying to display our github handles/ we realized that the text would not fill the bottom half of the screen. After talking to Paul, we realized we had to adjust the screen offsets in the example code. Later we also realized we didn’t need the additional library (GFX Library for Arduino) that was being used.
Code copied!
// Replaced the following:
Arduino_DataBus *bus = new Arduino_ESP32SPI(LCD_DC, LCD_CS, LCD_SCLK, LCD_MOSI);
Arduino_GFX *gfx = new Arduino_ST7789(bus, LCD_RST /* RST */, 0 /* rotation */, true /* IPS */, SCREEN_WIDTH, SCREEN_HEIGHT, 52, 40, 0, 0);
// With the following:
Adafruit_ST7789 tft = Adafruit_ST7789(LCD_CS, LCD_DC, LCD_RST);
The “human sensor” required 5 Volts
Our initial idea was to use the human sensor to detect if someone was close by. We ran into an issue where we realized the sensor required 5 volts and the ESP32 runs on 3.3 volts. We didn’t have anything to convert to 5 volts so we decided to get creative and use the thermal sensor instead (that was cooler anyway).
Conclusion
The end! I’m so glad we pushed ourselves to create something with these parts. I haven’t done anything with Arduino in a while so this was a great refresher for me. I highly encourage getting your own parts and playing around with them to create something fun and cool. Thank you for reading! As always, any feedback/advice is welcome 🙂
You can find our project code on my GitHub (@katnyn) and Polarity’s starter/example code on: polarity.io/shmoo

Special Acknowledgements 💌
I’d like to thank Bradley Harker (@Bradhacker) for working on this project with me :) This is officially our first project as a couple (I guess we’re GitHub official 🤣)!

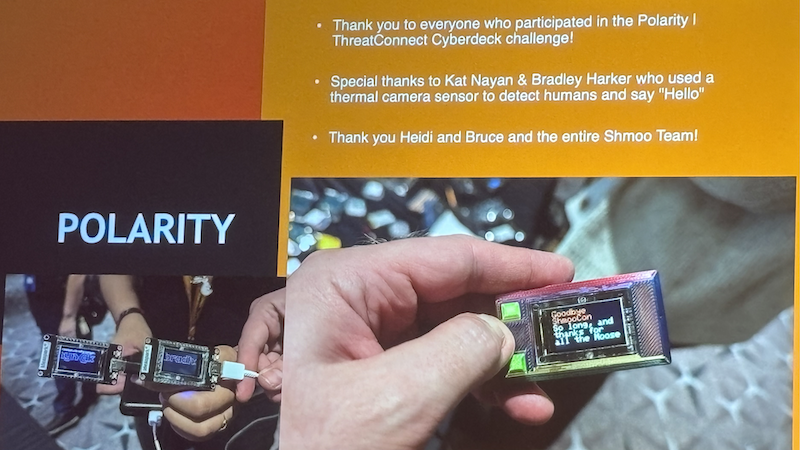
A special thanks to Paul Battista and Edmund Dorsey from ThreatConnect’s Polarity booth for speaking to us at ShmooCon. It was also extremely special to us to see our names in the closing remarks on the polarity slide! Definitely a conference to remember 🤩
